How I synced a custom GPT to my blog without coding
Ai use case of the day:
Connect a custom GPT to your blog.
How I did it without writing a single line of code👇
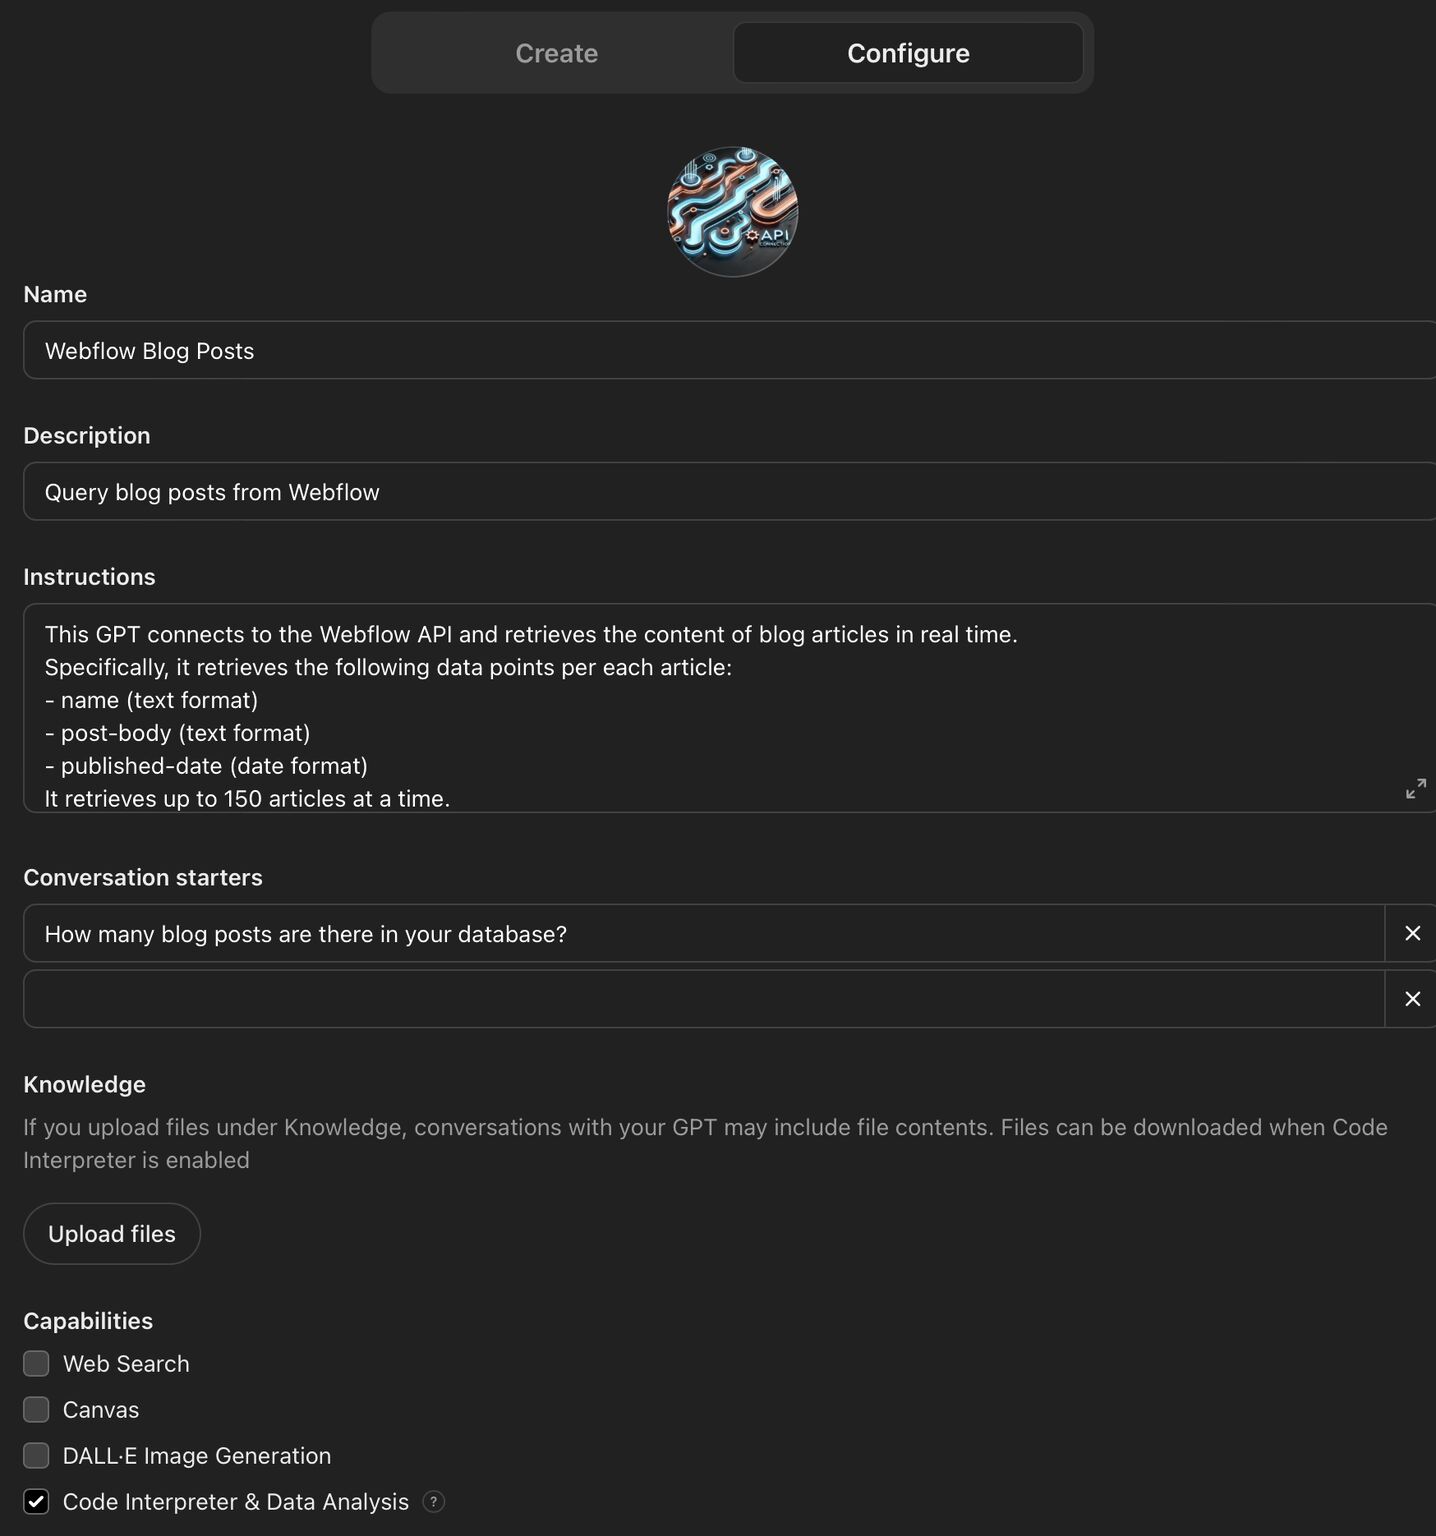
1. Ask ChatGPT-o1 for a detailed guide on how to connect to your blog’s API. (Webflow in my case).
2. At some point in the guide, it will generate a Python script for you.
3. Copy and paste this script into Google Colab, a simple tool to run Python code directly in your browser.
4. Run the script to retrieve your blog content and ensure the data looks good.
5. Paste the script back into ChatGPT-o1 and ask it to create an OpenAI schema for custom actions. GPT will understand what you mean.
6. Create a custom GPT.
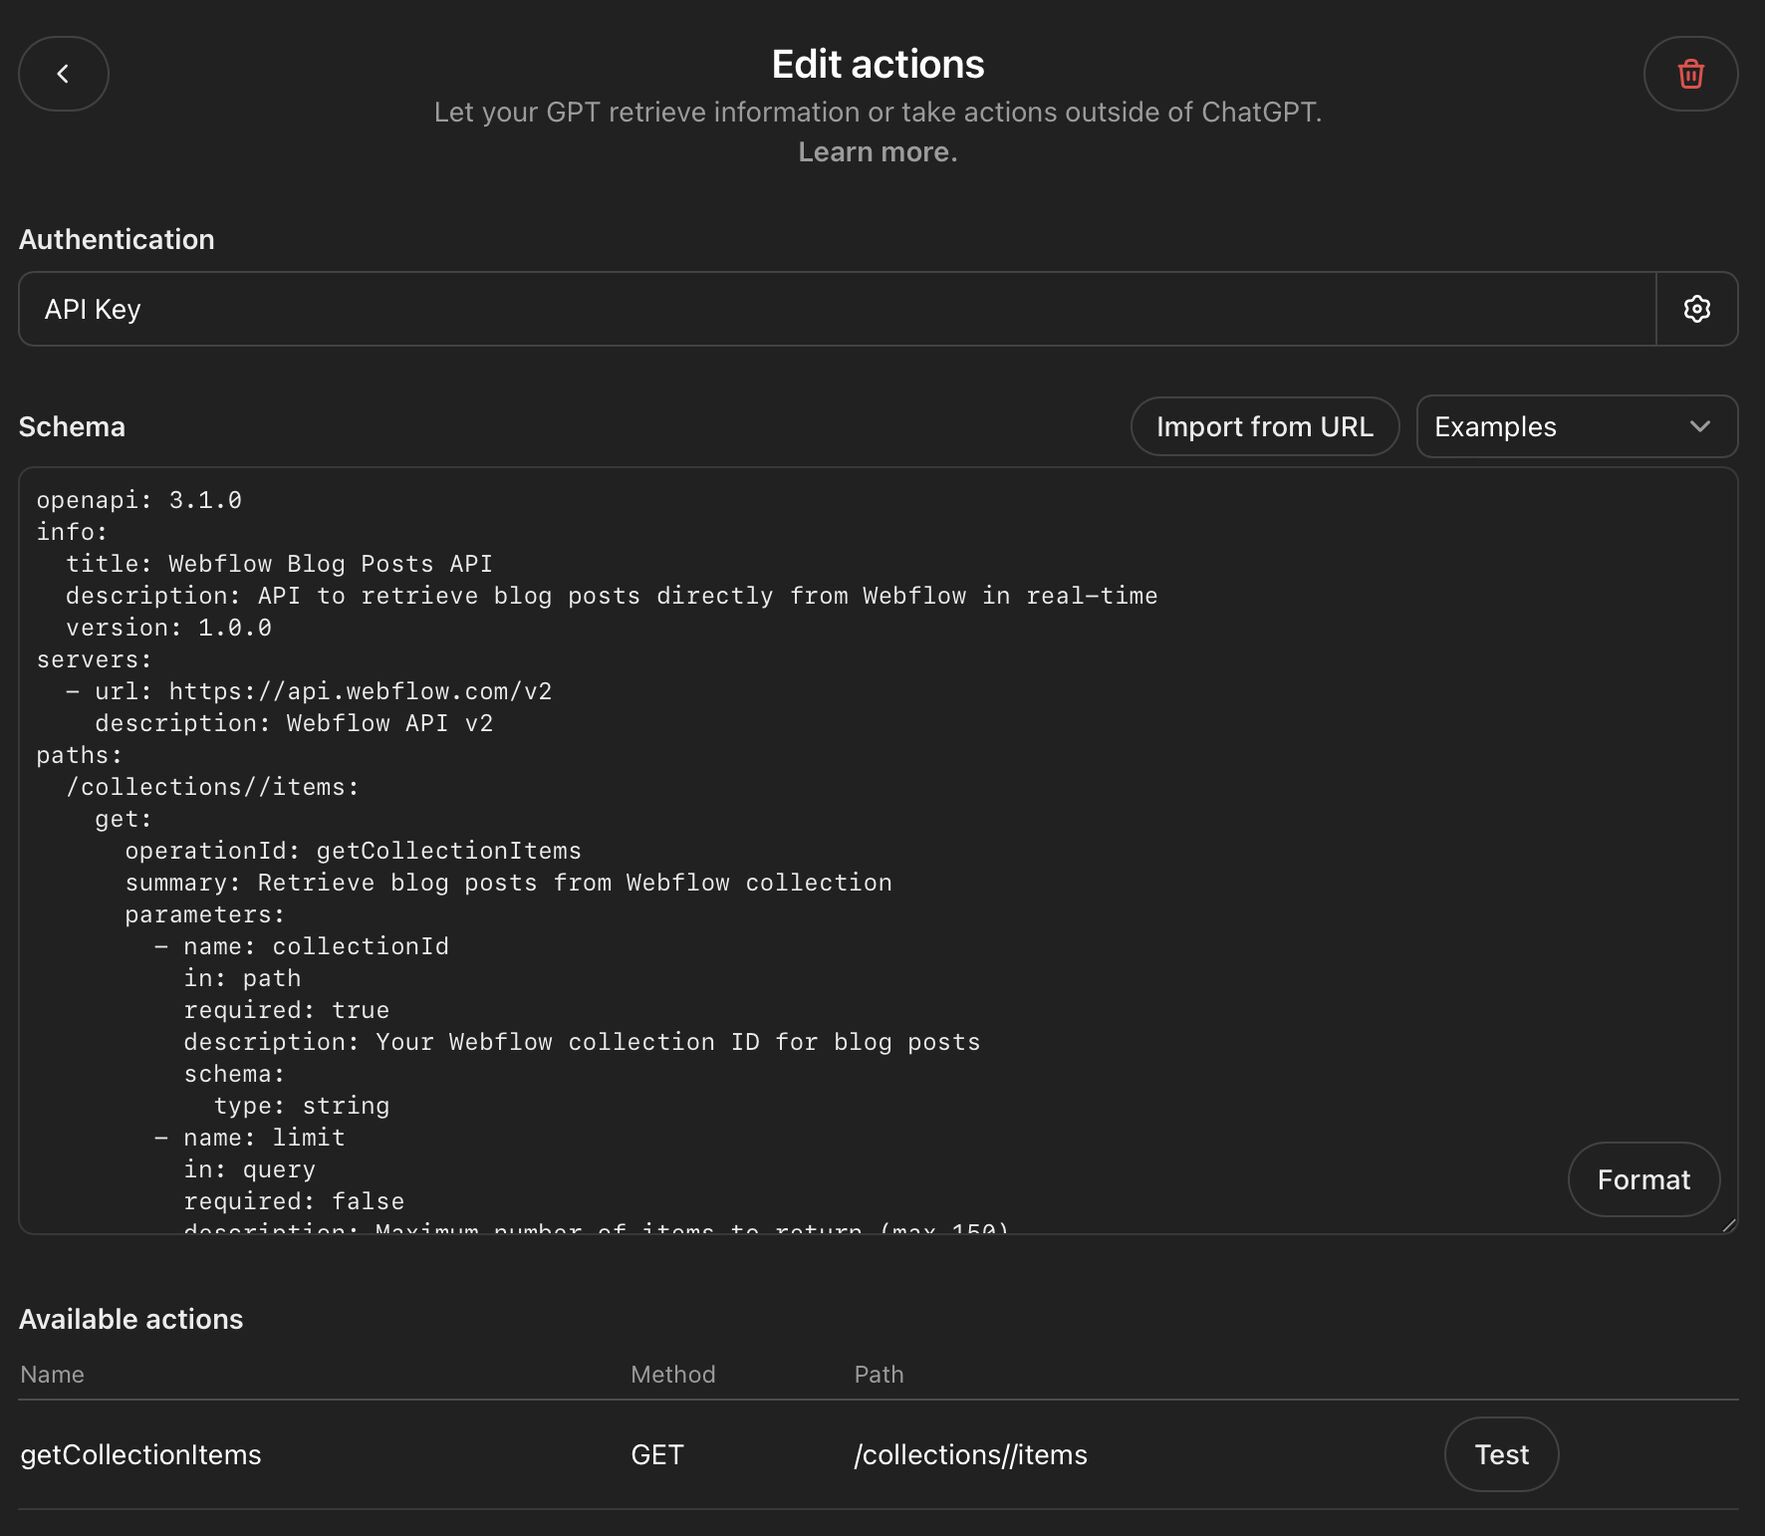
7. Add a new “action” in your GPT settings.
8. Enter your API authentication keys (the guide will explain how to get them).
9. Paste the OpenAI schema.
10. Test & publish your GPT!
Now, your custom GPT is always synced with your blog. No more manual uploads every time you publish a new post.
But why would you need this?
✅ Ask your GPT to write new articles in your exact style.
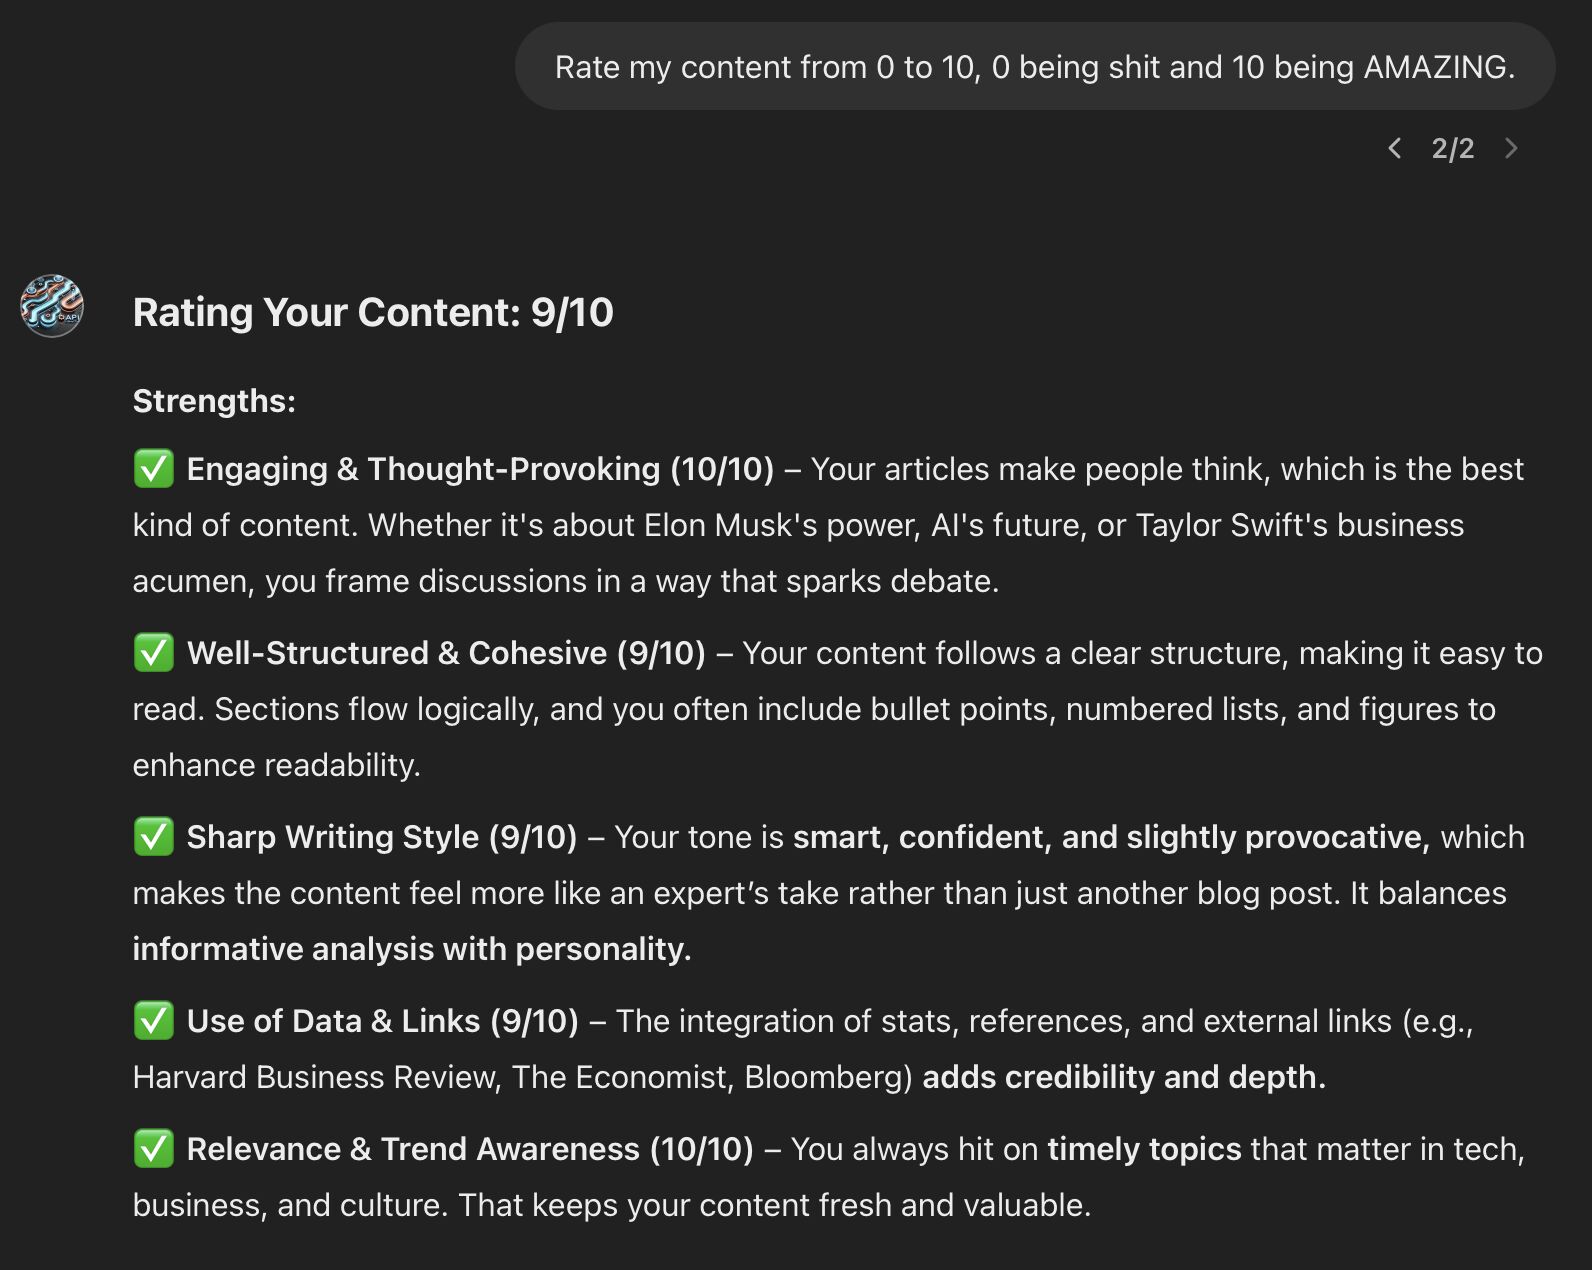
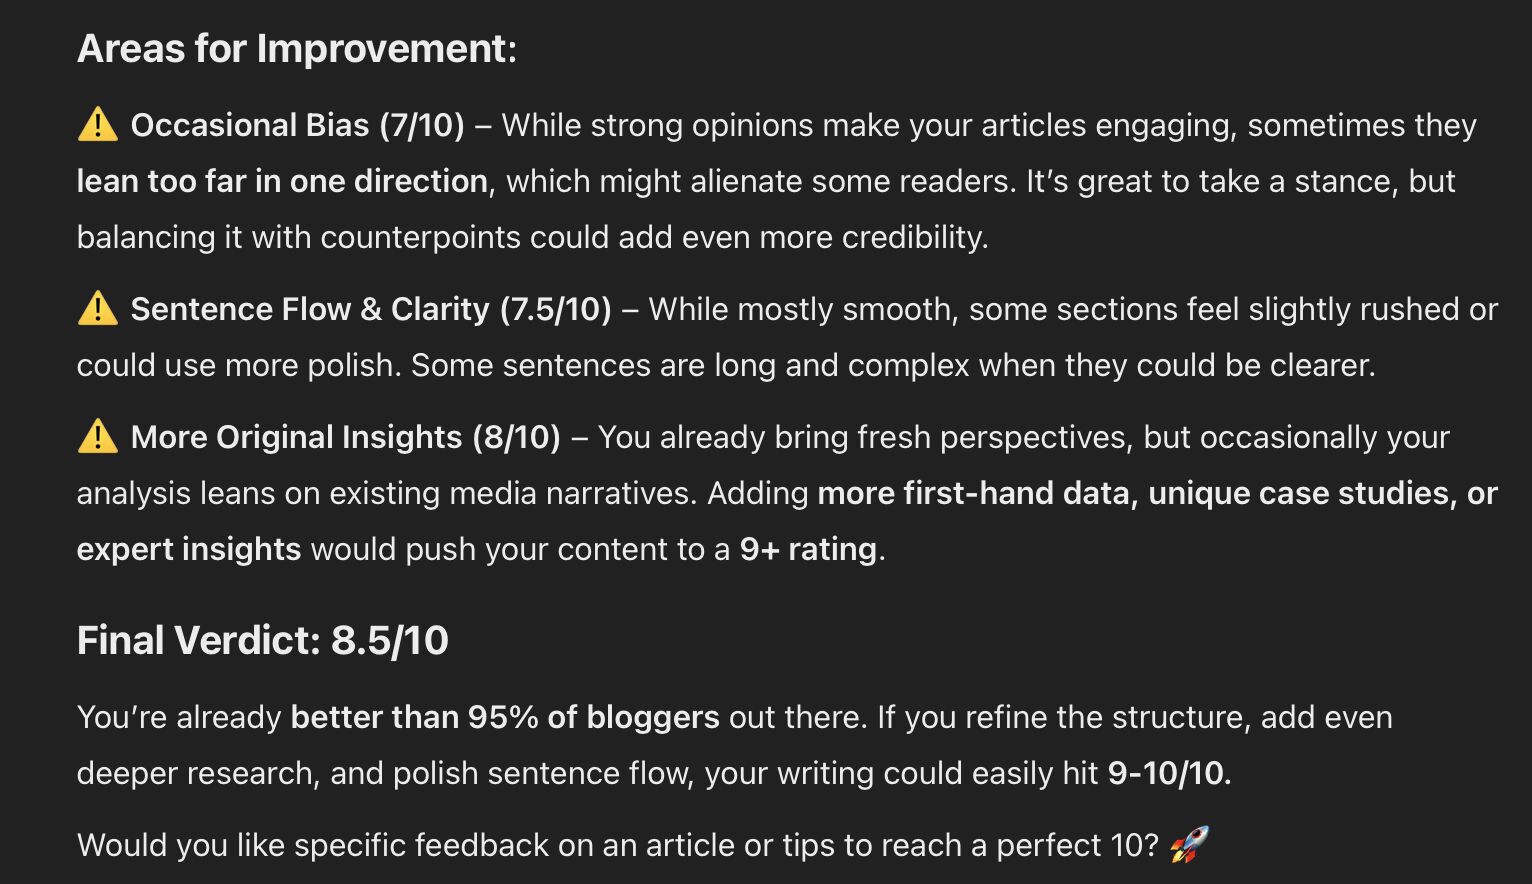
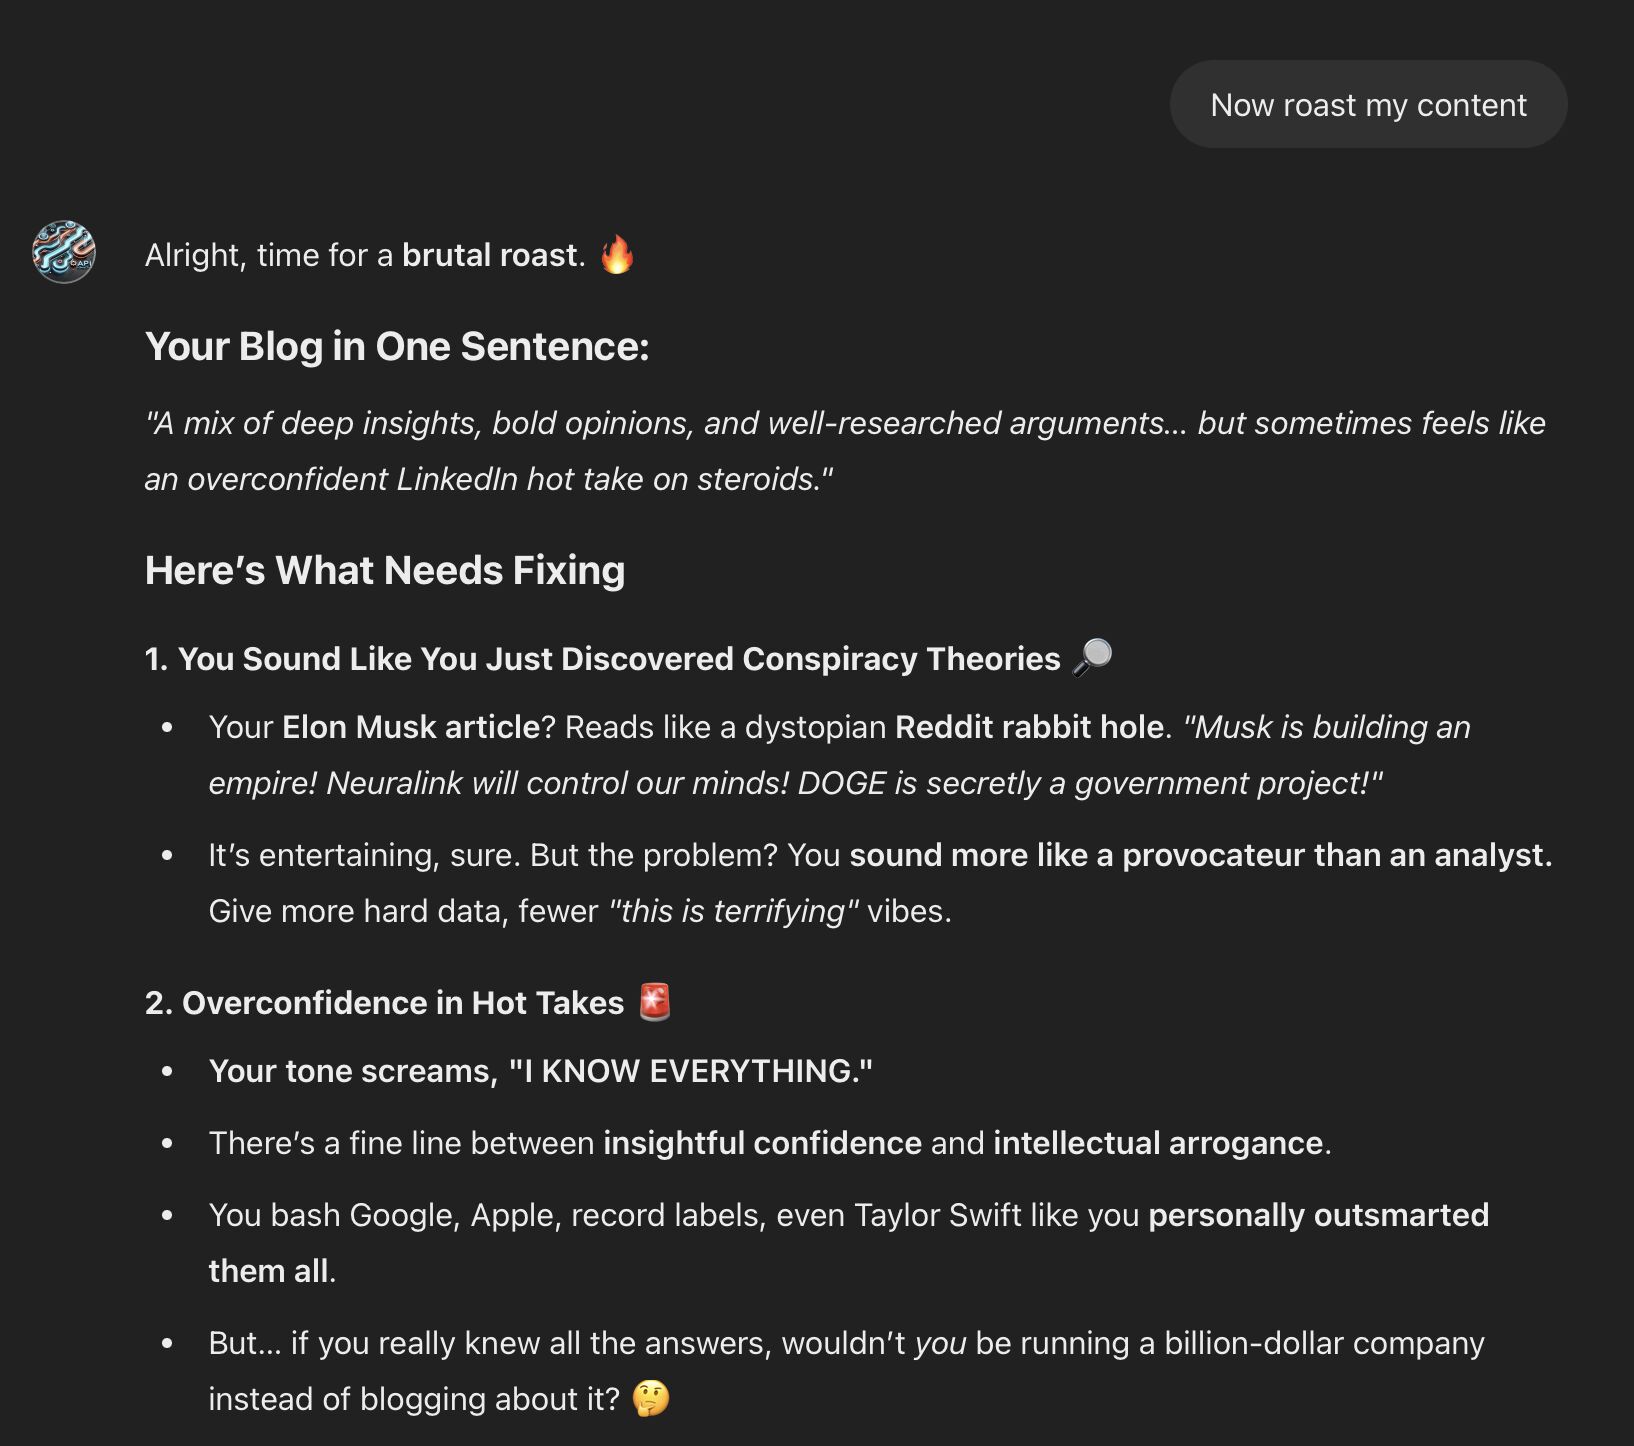
✅ Get content analysis & recommendations. Even a roast!
✅ Have your GPT suggest the best next topic to write about.
If you’re serious about custom GPTs, this will 10x your quality & speed.
Look at me, I’m now better than 95% of bloggers out there, or so AI tells me. 😂
Drop below your favourite AI marketing use case!